
 |
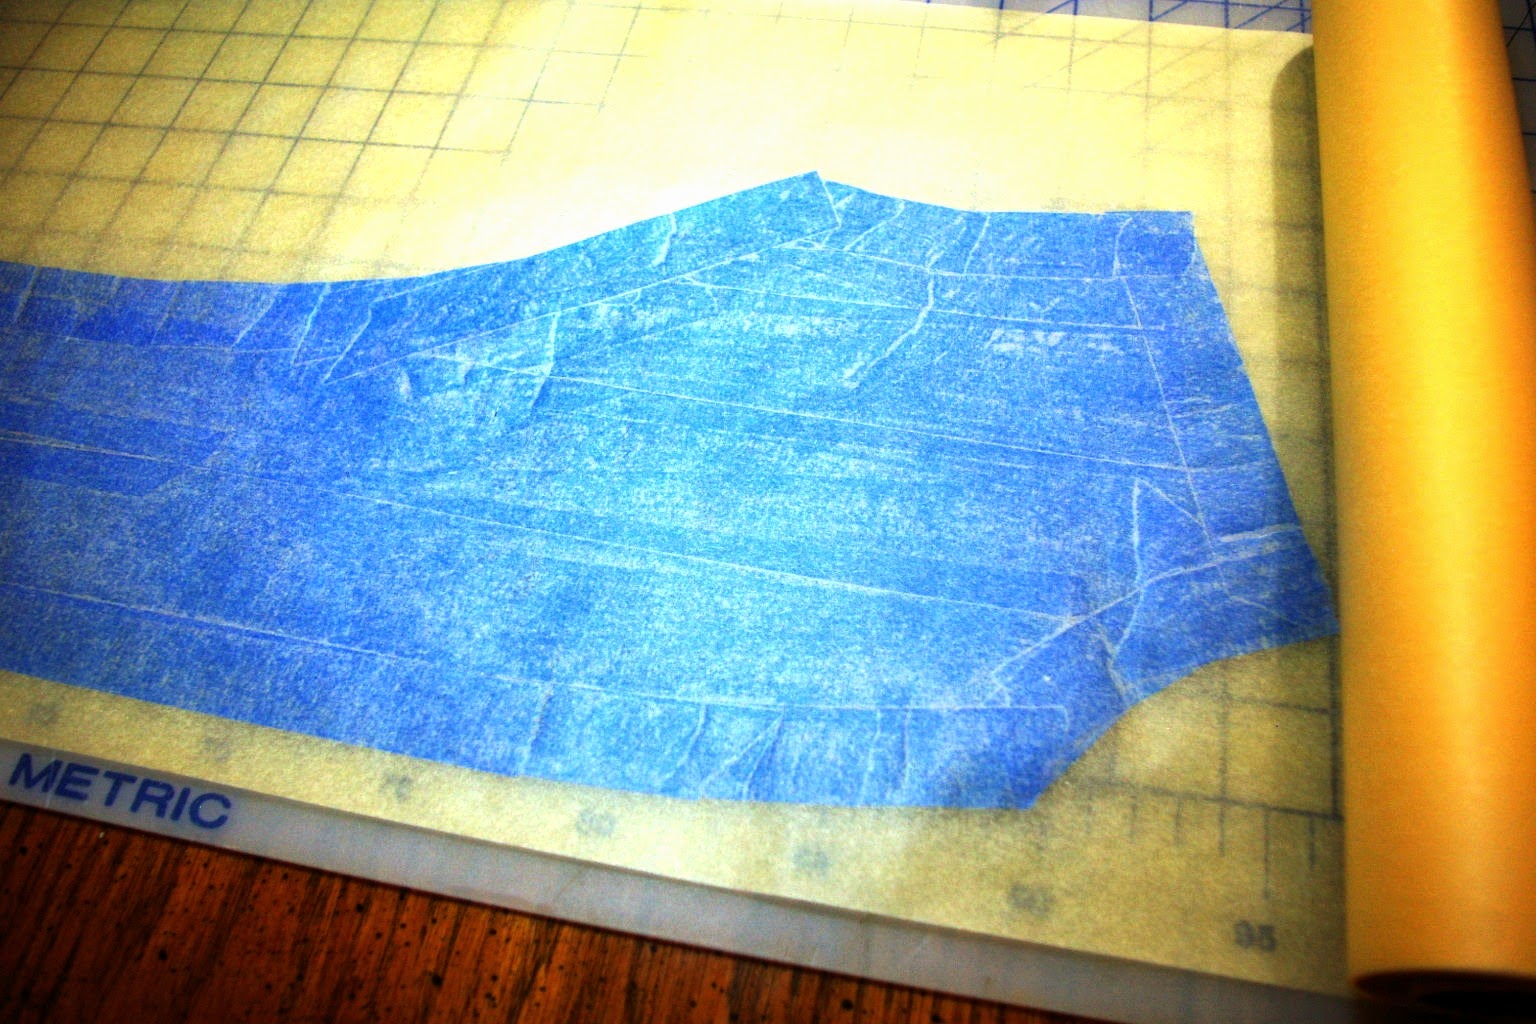
| Blue Painter's tape with on one section with design notes |
Because my interest are in do-it-yourself knitting/sewing projects I recently saw a post where they had used blue masking tape to tape out the exact shapes of ready made clothing to obtain a perfect knock-off copy. I did not share their idea that it would be a good thing to do because I really don't like "Sticky". I don't like stickers on my windshield even if it is a parking permit or inspection sticker. I detest bumper stickers. And I could not wash my kids hands often enough to keep them from being sticky when they were little. So I nearly let this little gem of a tip get past me.
I have had success with tracing, and marking knock off patterns before, but it takes a lot of patience because if your don't pin the garment flat, it is easy to have the pattern slip, bunch, gap or just slide away so that accuracy is difficult. The blue tape works because it is not very tacky unless you leave it in place too long. It is also easy to tear into smaller strips to use around the curved seam edges. The garment I used fits perfectly and does not have any darts so if you are using this on something with darts you will have to make adjustments so that you allow the correct space for darts.
Here is what happened while taping the pattern. Depending on my results with the test sew I may be able to honestly say Nailed-It.
First I started with a shirt that fits perfectly and pressed it to get out all of the wrinkles. I decided that it would probably be easier to just trace the collar and collar stand and blue tape the body and sleeve. My shirt has princesses seams, a seam down the center back and three quarter length sleeves so I had five pieces to copy. I started with the left center front which I will show you here, start to finish. I could have just as easily used the right center front, but either way, you will only have to copy one half of your shirt because each piece is cut in pairs on folded fabric.
 |
| Center front, marking the seam edges first |
 |
| Center front filled, marked, and starting to lift from the fabric |
 |
| Removing the tape from the garment |
 |
| Front center piece placed on tracing paper so I can add the cutting line |
 |
| Back side of pattern on tracing paper |
Now do the same thing for every piece you need to copy. On this shirt I still had a front side, back side and center back to trace plus the sleeve. The sleeve was the hardest piece to tape because I could not lay it completely flat from seam to seam so I taped it in two pieces along the press line and marked on the blue tape where the shoulder seam touched the sleeve for future reference. I did not make a copy of the button band. I will just cut a piece double the measured width plus seam allowances on both sides, fold, press and sew onto the front just before I sew on the collar stand and collar. It is straight except for a slight curve near the neck and is not cut on the bias. This will not require a pattern but it is one more piece I need to cut.
The test sew will probably not be a true muslin as I expect the results to be very accurate with little need for any alteration. It that turns out to be true I will have a tried and true shirt pattern.
No comments:
Post a Comment
Thanks for stopping by.