12.29.2012

Last Saturday of 2012


Cloth Corsage to match quilted jacket
Early this year several people around me were making positive resolutions for the year. Instead of the usual, lose weight, save money, and other life and health style resolutions. I was inspired by hearing people resolve to do something either weekly or daily like take a photo every day, or write every day or draw a picture everyday. I had started this blog at the end of 2008. I did not revisit it for almost a year and then again until the beginning of last year. My resolution was to write more blogs. Certainly not daily because I knew I would not have enough time or topics to write everyday, but maybe weekly.

I have discovered it is hard to find the time to blog and work on projects because taking time to write about the project, and photograph it along the way at various points really slows me down. When I am working on a project it is so easy to just move from one step to the next and keep going. Taking photographs requires that I stop working on the project, move it to the table with good light and take the pictures. Then move back to the work area and continue working on the project. This stops the forward progress and impairs the motivation as well. If I write about the project after I complete it then there is a good chance that I did not take an important photograph along the way. I am not sure what I might do to make it easier, but I am glad that I wrote about my projects.

Knitted Shrug
This year I also spent some time knitting. I am definitely a sporadic knitter. The weather has to be right, the yarn has to feel good on my hands. I might knit like crazy for a long time then one day I am finished. Not interested in looking at a pattern, designing a pattern, reading about yarn or techniques or anything else to do with knitting. I am OK with that because I have more than a few hobbies. This year however, after several years of not knitting a thing because it has been too warm or just no interest I have found that I have about three projects going at once. I think it is because it was so unbearably hot this summer. When it cooled off it just felt so good to work with the yarn I could hardly resist knitting again. Socks are a wonderful small project to take with you for those times you have to wait for something or someone. Wristlets are fun too because you can use small swatches to test patterns before you actually commit to making something bigger and you have something very useful when you finish. Before I finish knitting this winter though, I plan to convert some flat knit patterns to knit in the round projects.  

Next year? I plan to write in my blog again. I am not sure if I will keep a scheduled blog though. It could be more likely that I will pick some specific projects and work more on them. What about you? Will you make a resolution? Did you make one in 2012?  Did you keep it? Will you make one for 2013?  Will it be the usual, lose weight, save money, or will it be something positive to promote a hobby or interest?

Favorite Projects this year:
Unexpected Quilt Designs
Purple and black quilted jacket

Cloth Corsage to match jacket - larger photo above
Jeans that fit - copied from a favorite pair 

Creating a copy of a favorite pair of jeans


12.27.2012

Wristlets and Fingerless Gloves

I am almost finished with the wristlets and fingerless gloves. Just need to finish sewing them together. I will probably also pick up stitches to cover the thumb. For speed I used straight needles, but some designs work very well in the round with double point needles.


Knitted wristlets, ready to sew the side seam.

Yarns: Vanna's Choice, 100% Acrylic, size 4 and
Deborah Norville Everyday Soft Worsted, not quite as  thick as Vanna's Choice, but much so


White Cable Wristlet, Instructions Below

Cable Wristlet

Supplies:  
1 pair straight size 5 knitting needles
1 double point size 5 needle, or cable needle
1 ball Deborah Norville Everyday Soft Worsted yarn, 4 ounces, 203 yards

Gauge: 
11 stitches, 14 rows = 2"x2" in stockinette stitch

Instructions:
Cast on 40 stitches, using long tail cast on and allow enough yarn tail to sew sides together.
Work in K2, P2 ribbing for 10 or 11 rows, longer if you want a long cuff or to fold your cuff
Left Wristlet:    (Right Wristlet changes listed below)
1st row above cuff, (Right Side)  K5, P2, Slip 3 to cable needle, hold in front, Knit next 3 from left needle, Knit the 3 from the cable needle, P2, K25
2nd row above cuff and all even rows between cuff ribbing and end ribbing, (Wrong Side)  P25, K2, P6, K2, P5
3rd  Row above cuff, K5, P2, K6, P2, K25
4th row above cuff, repeat 2nd row
5th row above cuff, repeat 3rd row
6th row above cuff, repeat 2nd row

repeat 1st Row above cuff and continue in pattern for two more patterns then end with 1st Row 

Work in K2, P2 ribbing for 4 rows, bind off in pattern, leave a yarn tail to sew top cuff

Finish by sewing about 2 3/4" up from lower cuff and down about 1 inch from the top cuff.  This should leave approximately a 1 3/4 or 2" opening for the thumb.  If desired, pick up 4 or 5 stitches at the bottom of the thumb opening, and increase one stitch on each side as you pick up the side stitches on the thumb opening, work 7-9 rows with the pattern side facing the outside, finish with two rows in K1P1 ribbing and bind off.  Tuck yarn ends, trim yarn ends.

Right Wristlet:
Pattern Rows: 
Row 1. K25, P2, Slip 3 stitches to cable needle, hold in back, K3 from left needle, K3 from cable needle, P2, K5
Rows 2, 4 and 6. P5, K2, P6, K2, P25
Rows 3 and 5. K25, P2, K6, P2, K5


With thumb gusset
Without thumb gusset


12.15.2012

What a difference the yarn makes

Two Pair

Last week I struggled with sub par yarn and got disappointing results, but what a difference the yarn makes. This week I used Deborah Norville's Everyday soft worsted and got much better results.  I still need to sew these together and make 5 more pair.  So this post will be brief.  I promise I will post more about them once I have finished.
 
Close up for Detail


12.09.2012

Less Than Desired


It is that time of year when the elves and Santa helpers are busy with final touches and this year is no exception. I like to sew, I like to bake, I like to knit, design, paint, take photographs. I even enjoy working on most days, but I don't like this.

"This" is a disappointing yarn from a brand I usually like. This brand is softer than most and usually a joy to work with but I am not going to buy this style again. I may even return two unused balls to the store.Yes I really dislike it that much. While I will occasionally return things I don't like I don't usually return a small purchase.

It may be OK for some things, but I just finished a pair of finger-less hand warmers and sometimes the yarn had been spun tight creating a thin strand other times it was barley spun having a loose roving texture. The final product has a loose, slightly fuzzy finish, like a bad quilt filler. I don't even want to weave in the loose threads and finish it. It looks and feels hand made and I like my work to look and feel high quality and professional.

The whole experience was comparable to trying to drink tepid tea or eat a mealy apple. I am sorry I wasted my time on it. This yarn is better suited for kindergarten art projects not knitting. When have you had less than desired results and what did you do with the finished product?

12.05.2012

Just in the Nick of Time

This year has just zipped by. It seems like every time I looked up the calendar had flipped to the next month.  The same is true for this little coat project. I started it before Thanksgiving, but stopped working on it because I traveled out of state for the holiday. It is for a contest on instructables.com which has to be entered by tonight. I am happy to say I did just get it submitted with about 90 minutes to spare, but I am worried that my chances to win will be reduced because the listing will be so far to the back of the competition.

Dot gave it a close up inspection.


With this little project completed I can work on the St. Nick items on the to do list.

11.25.2012

Oxymoron High Heel-Boot, or is it a Contranym


I have to show you this boot because to describe it would just create more confusion. My daughter brought a shoe box over for the cat, but the picture on the box was of the high heel boot pictured above. It looks like a cold weather work boot, but it has the extreme high heal of a dress shoe. While cute and amusing, the whole shoe just does not fit into any catagory. I guess just leave it to this generation to figure out how to wear weather boots without having to take a second pair of shoes to change into once you arrive at your destination. I hope it keeps her foot warm without her breaking an ankle.

I would have to wear a boot more like the one picutred below and change into a flat shoe after I reached my destination, but I probably would have loved to have a pair of high heels like this before cankles and wisdom set in. 

And Through the Woods

through the woods
I hope everyone is enjoying a Happy Thanksgiving Weekend. I just got back from visiting my parents. It was actually across the Colorado high plains, through the Kansas wheat, soybean, sunflower and winter wheat fields into Missouri, then over the river and through the woods. I got to meet a new great niece, see nephews, nieces, cousins, sibilings and parents. It was great to see everyone who made it and the company was wonderful. I wish I could see everyone more often and that everyone had been able to be there. I am leary about making the trip during the late fall and winter months, but this year the weather was very plesant. We did not encounter any of those famed western Kansas blizzards.

Now, back to work on a fleece project. It is something I am working on for a contest so I will write more about it later.

Dot inspecting my next project choice

11.09.2012

Back Burner Project Moving Ahead

My helper Dot in the muslin 
I have not been sewing for myself much recently, mostly because I have not been happy with the fit. It is hard to get accurate measurements by yourself. I figured that a dress form would make things easier, but when I purchased one on sale I found out it did not even have a way to adjust some measurements - like bustline and waistline heights. So I returned it within just a few hours.

In May I went dress shopping at a favorite store only to discover that they had lost their lease and were closing the store. They had already sold almost everything out to the bare walls and only had just a few items and the store fixtures left. After I left the shop I remebered that I had seen a lot of half maniquins lined up along the walls. They had been turned to face the wall so their backs were all you could see. It occurred to me that I could probably pad this form to match me easier than I could get a custom dressmaker form so I went back to the store and inquired about the store fixtures. Twenty bucks, even if it did not work I had not lost much on the purchase and it almost perfectly matches my daughter as is.

Not long afterwards I found in the July 2012 issue of Threads the article, "Fit for Everyone" by Kenneth D. King. Mr. King described how to make and pad two layers so that the first layer fit the dress form and the second layer fit another person. Here it was, spelled out step by step how to do what I was thinking about doing anyway. Just one problem. I still did not have a way to make accurate measurements. So the project has sat while I worked on other things.

Threads Cover.
I purchased it for this stripes article, the dress form article was a  bonus.
A couple of weeks ago I was wearing a favorite dress; you know the one, that dress in your closet that fits perfectly and makes you look great. It hides figure flaws, and even though it is not the newest item in the closet you get complements everytime you wear it. Yes, that one. Well a co-worker said, "I just love that dress." and of course I said thank you but thought "I wish I had a dozen just like it." and the light finally went on in my head. "Why don't I copy it?" then I could have a dozen or two.

I really don't know why it took me so long to figure this out. I know it fits, I know it is flattering, I know how to knock off a pattern. I won't need measurements. It will be easier to just alter a couple of seams, and it will help me solve several problems.

I will have an accurate set of blocks also known as a sloper. Once I get the alterations completed, I will be able to make a dozen or two of this dress in all the colors that look good on me and the muslin will become the second layer for my customized dress form. I will have a tried and true pattern that I like and a dress form to help accurately fit other patterns.

Original garmet pinned to the tissue paper for tracing.
I copied and cut the pieces this week.  Now to sew the muslin.


11.03.2012

Organized Sewing Items

Finished Socks - Yarn Strip is built into yarn, no color changes necessary.
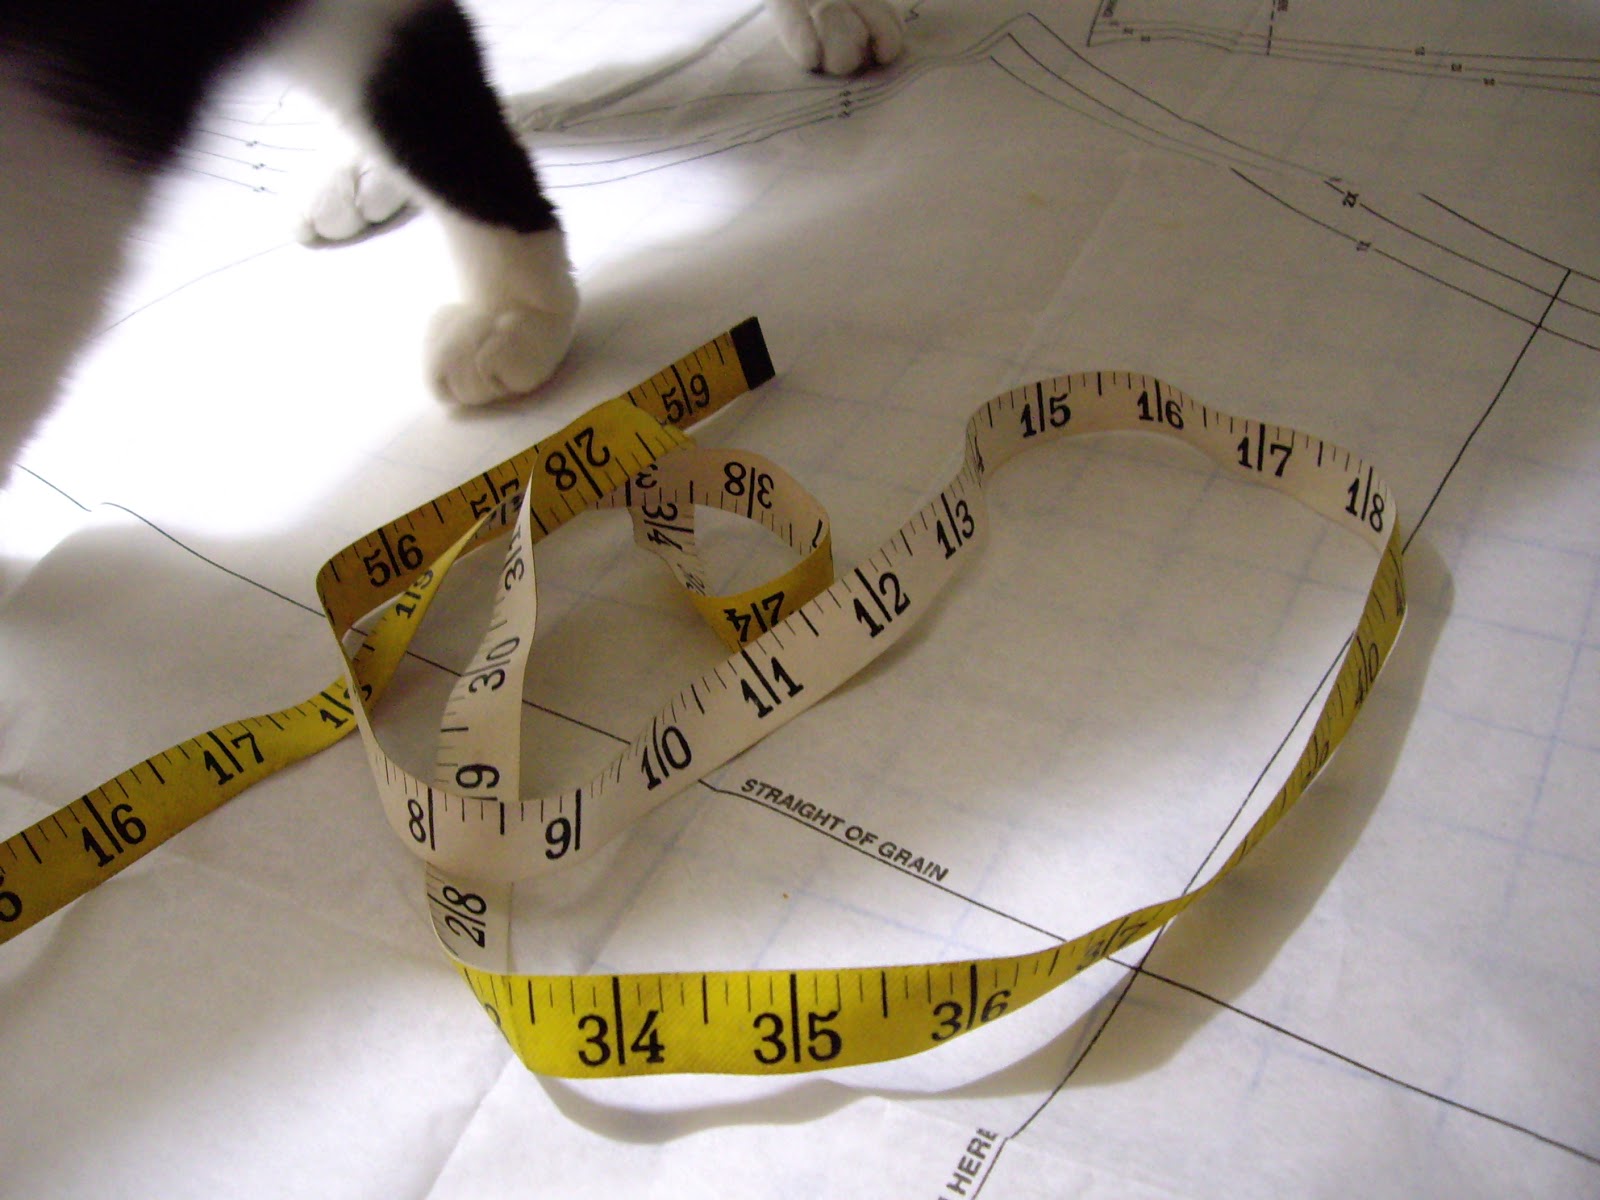
My sock project is finished.  I may have enought yarn left to make some fingerless gloves, but that would be another project. Here are the socks, and I have put the points protectors, measuring strip and knitting needles in their home. Right after I put them away, I read Sewaholic's post about organizing sewing trims and notions and it reminded me of how lots of my notions and trims were once stowed too.

Two Plastic knitting needle storage units and a tin box for smaller knitting notions
Before I sold my home. I had a whole basement I could use for sewing, with lots of overstuffed boxes to hold thread, notions, and all kinds of sewing items. Everything was contained in one area and I had enough space that things did not have to be in an exact spot. Now, in a small appartment every inch of space is important.

About a year ago I went through all of the sewing items, sorted out buttons, threads, cutting tools, marking tools, measuring devices, elastic, bias tape, scissors, knitting needls, and every thing you can imagine that relates to sewing or knitting. I found out I had lots of buttons, zippers, and trims from projects that had been re-purposed, and multiples of things like snap crimpers, measuring tapes, seam rippers, and thimbles.

Some of my storage bins and boxes, see below for content photos

When I was ready to start organizing the mess, I found craft boxes that looked like decorated shoe boxes on clearance at one of the local hobby shops and started sorting like items into the boxes. Now with the boxes labeled and easy to reach I don't waste any time looking for things. More importantly I do not re-buy tape measures or other items that I already own because they have not been returned to the right place.

While I was at it I looked for smaller, see through storage boxes for things like machine needles, presser-foot storage and other small like items that I use while sewing.  I found small plastic boxes that looked like minature versions of larger tubs at the office supply store. This keeps the small pieces together and secure.

All of these presser-feet fit in this little box


Another little box holds machine needles

In a slightly larger set of see thru containers I have screwdrivers, other machine accessories and marking/turning items.

Thread is still jumbled in a box, but it is in its own box, bobbins stay neat in rubber circles.
With everything contained, labeled and stored on shelves it is easy to find things which saves time. I don't end up re-purchasing things, like tape measures, which saves money.  The organized notions, tirms and tools take up much less area so it saves space.

Storage Boxes on Shelf

Storage shelves with boxes , notions etc.


10.27.2012

Kitchener Stitch

Original yarn choice with magazine.

This little project started with a car repair. I needed something to entertain me while I waited for the repair to be completed, so I picked up the Fall 2012 Creative Knitting Magazine, NO-SEW CIRCULAR & SEAMLESS KNITS magazine.  Inside I found a button-up shurg that I decided to make. 

It had been a while since I knitted something to wear so I wanted a simple project I could make with yarn I had on hand. As it turned out the two partial skeins I had on hand were not the same dye lot and did not match, although I did not realized that when I got started. See two previous posts. So I purchased yarn to make this project and started over.

Second attempt, this time with new yarn.

I really like the yarn and the color and it is an easy project that knits fast. I have both sections complete to the point where I need to put them together. I read the instructions, sounds simple enough, use a darning needle, weaving the yarn knit wise and purl wise through the loops on both needles. It seemed like it would be kind of a centralized cast off process as the two pieces are woven/sewed/attached together.  

Ready to finish sections of the shrug.

What I did not realize is now I have no way to make sure the stitches are the right size. The first try was too loose and very sloppy, then the second try somehow I pulled several unfinished stitches off of the needle before I meant to and had to recreate a few stitches that I managed to unravel. I wonder if it would not be easier to just use three needles, making the knit/purl wise loops between the two pieces through the loops and around a double pointed needle. I would have the needle as a guage to keep the tension and loop size even. 

I found out that this Kitchener stitch is considered to be an "Expert" level stitch and is usually used at the toes on socks, so maybe over a dozen stitches. This shrug has 88 stitches across on each side. The skill level for this project is listed in the magazine as easy. Up to this point it has been, but now not only is this final step an expert level skill, it also feels like sewing and it is included in a NO SEW edition.  I am confident to be able to do advanced level stitches, so getting practice at an expert level may be the best way to learn a new skill. What better place to have it too, at the very end. Hope I can master this soon so I can wear my new shrug.

10.21.2012

Project planning and progress report


Last week I planned the projects I wanted to work on by placing them on my table to prioritize and review. Dot hopped right up to make an inspection and help me decide. Now you can see why I use plastic bags to organize sewing and knitting projects. It keeps her out of the yarn and other supplies.

Dot inspecting the possibilities

In this picture I can see a purple unfinished object (ufo), top left, then beside it the nearly completed button-up shrug that I made with mismatched dyelot yarn that I am going to rip out and turn in to something else, three skeins of red yarn, which is the replacement yarn for the button-up shrug, a pair of socks work in progress (wip), a pair of baby booties to finish, patterns to consider and two sewing projects that I may make for my kiddos.

So how did I do? 
The baby booties were a gift and I finished them.

The purple unfinished object is still unfinished.  I did decide that I need to purchase a scale so I will know when I reach half way on the yarn for the project that it will become. This project will have to remain unfinished until I weigh the yarn. I am not in any danger of running out of things to do so that probably will not move to the front of the project to-do-list right away.

I did knit on the socks. This is a very small, easy to take along project so it travels with me and I knit a row or two when I find myself waiting for something or have a few minutes extra during lunch times. It is on very small needles and in the round so while I can see progress it seems slow.  I am nearly finished with the first sock.


Once I decided I could not live with the mismatched dyelot on the original button-up shrug, I purchased the kind of yarn suggested in the pattern and got started on the replacement.


Original mixed dylot
Progress with new yarn
Nearly completed right side
Pattern Photo with both yarns

This brings us up to the sewing portion of the week.  I did not sew this week, but I do have several patterns I would like to sew soon. Here are four that I am considering. It will just depend on when I find the desired fabric.

Deciding on fabrics for these.

When I did look at a pattern to decide if I really wanted to work with it or make my own, Dot took the opportunity to play with the tape measure. Then she sat down right in the middle of the project.


She usually likes to nestle among the yarn projects in a favorite basket.